
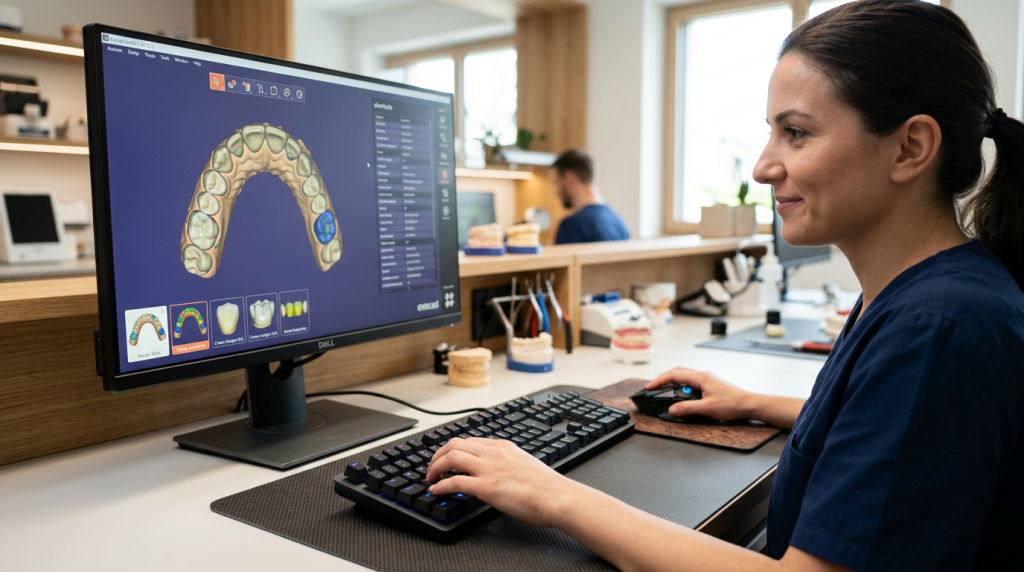
💻 All Exocad controls and keyboard shortcuts
In the fast-paced world of digital dentistry, every second counts. Efficiency is not just an advantage; it is a necessity for any laboratory or clinician striving for excellence. Exocad DentalCAD is, without a doubt, one of the most powerful tools at our disposal, but are you harnessing its full potential? The difference between a good designer and an extraordinary one often lies in the mastery of the Exocad controls and keyboard shortcuts. Moving beyond exclusive reliance on the mouse to navigate menus and tools is the first step to transforming your workflow, shifting from a sequential process to a symphony of fluid and precise digital design.
At Prodecad, we live and breathe Exocad. As a specialized digital laboratory and exocad training academy, we understand that technical mastery is the foundation of aesthetic excellence. That's why we have created this definitive guide on Exocad keyboard shortcuts (or hotkeys), a resource designed to take your productivity and the quality of your designs to the next level. Get ready to optimize every click and revolutionize the way you design.
Why use keyboard shortcuts in Exocad?
Adopting the Exocad commands is not just a trick to seem faster; it is a fundamental strategy to redefine your operational efficiency. The time you save by not having to search for a function in a menu accumulates, allowing you to complete more designs in less time and with less fatigue. But the benefits go far beyond speed.
Increase your speed and productivity
Imagine every action you perform in Exocad: showing the antagonist, measuring a distance, smoothing a surface. Each of these actions requires moving the cursor, clicking on a menu, selecting an option, and returning to the model. A keyboard shortcut condenses that entire process into a single keystroke. Multiply that time saving by the hundreds or thousands of actions you perform in a design day, and the impact on your productivity is monumental. An optimized workflow with hotkeys allows you to stay focused on the 3D model, maintaining a steady pace and reducing downtime.
Improve the precision of your designs
When your hands move fluidly between the mouse for manipulation and the keyboard for commands, your mind is freed to focus on what really matters: anatomy, occlusion, and aesthetics. Exocad shortcuts allow you to instantly activate tools like the cutting plane or distance measurement, facilitating constant and precise verification of your designs. This immediacy in accessing analysis tools encourages a more rigorous and detailed approach, which directly translates into higher quality and better-fitting restorations.
Exocad keyboard shortcuts for navigation and visualization
Before diving into the design tools, it is crucial to master how to move and interact with the Exocad 3D environment. Agile navigation is the foundation of any efficient workflow. These are the controls and Exocad hotkeys that you should memorize from day one.
Rotate, zoom, and move: the mouse and Exocad keyboard shortcuts
The mouse remains your primary tool for model manipulation. According to the official exocad documentation (exocad.com), basic navigation is performed as follows:
- Rotate view: Hold down the right mouse button and drag.
- Move the view (Pan): Hold down both mouse buttons (left and right) and drag. Alternatively, you can use the keyboard arrow keys.
- Zoom: Scroll the mouse wheel forward or backward. The zoom center will be the cursor's position.
- Center and set a new rotation point: Press the mouse wheel (middle button). This is incredibly useful for focusing on a specific area, like a preparation margin. The Home key serves the same function.
Show and hide object groups: antagonist, scans, gingiva
One of the most time-consuming aspects is managing the visibility of the different elements in the scene. Fortunately, Exocad offers a hotkey system for the most common groups, allowing you to clean up your view with a single keystroke (Source: Exocad Hotkeys and Commands Guide – Scribd).
- A: Shows/Hides the Antagonist.
- S: Shows/Hides the Jaw Scans.
- C: Shows/Hides the Connectors.
- G: Shows/Hides the Gingiva Scans.
- W: Shows/Hides the Waxup Scans.
- P: Shows/Hides the Pre-operative Model.
- F: Shows/Hides the Full contour Parts.
- R: Shows/Hides the Reduced Parts.
- B: Shows/Hides the Crown Bottoms.
Note: The keys for the maxilla and mandible (X and N) are mainly used in cases involving restorations in both arches.
Transparency and visibility of loose objects
Sometimes, you don't want to hide an object completely, but rather make it transparent to see through it. Or maybe you just need to hide a specific mesh under the cursor. These advanced commands give you granular control:
- Hold down the Alt key: Temporarily shows all hidden objects. When the key is released, the view returns to its previous state. (Source: Shortcuts – exocad).
- CTRL + Middle mouse button: Hides the specific object under the pointer.
- CTRL + SHIFT + Middle mouse button: Redisplays the last object hidden with the previous command.
- SHIFT + Mouse wheel (click): Toggles the transparency of the object under the pointer.
Exocad keyboard shortcuts for the wizard and tools
Beyond navigation, the Exocad keyboard shortcuts streamline the Wizard-guided workflow itself and access to crucial analysis tools. Integrating these commands into your daily routine will save you countless clicks.
Navigate the wizard without letting go of the keyboard
El Asistente de Exocad es una guía fantástica, pero hacer clic en “Siguiente” y “Atrás” constantemente puede romper tu ritmo. Utiliza estos atajos para moverte por los pasos del diseño sin apartar la mano del teclado (Fuente: Exocad Hotkeys and Commands Guide – Scribd):
- CTRL + Space: Avanza al siguiente paso del Asistente (equivale a “Siguiente”).
- CTRL + Left Arrow (←): Retrocede al paso anterior del Asistente (equivale a “Atrás”).
- F1: Opens the contextual help window.
Measurement and cutting tools: distances and cutting plane
Precise analysis is fundamental for the success of a restoration. Access the most important diagnostic tools instantly with these Exocad hotkeys:
- CTRL + R: Activates the Measurement Tool (Measurement Tool). Allows measuring point-to-point distances on the 3D model. (Source: Hotkeys – exocad).
- CTRL + P: Activates the Cutting Plane (Sectional View / Clip Plane). Essential for visualizing thicknesses, emergence profiles, and the internal adaptation of the restoration. (Source: Shortcuts – exocad).
- CTRL + D: Shows the Distances Tool (Show Distances Tool), useful for visualizing color maps of the distance to the antagonist or adjacent teeth. (Source: Exocad Hotkeys and Commands Guide – Scribd).
Undo and redo with Exocad keyboard shortcuts
These are universal, but no less important for it. Making mistakes is part of the design process. Correcting errors quickly is key to maintaining efficiency.
- CTRL + Z: Undo the last action.
- CTRL + Y: Redo the last undone action.
- CTRL + S: Save the current state of the scene. A habit that will save you from many problems!
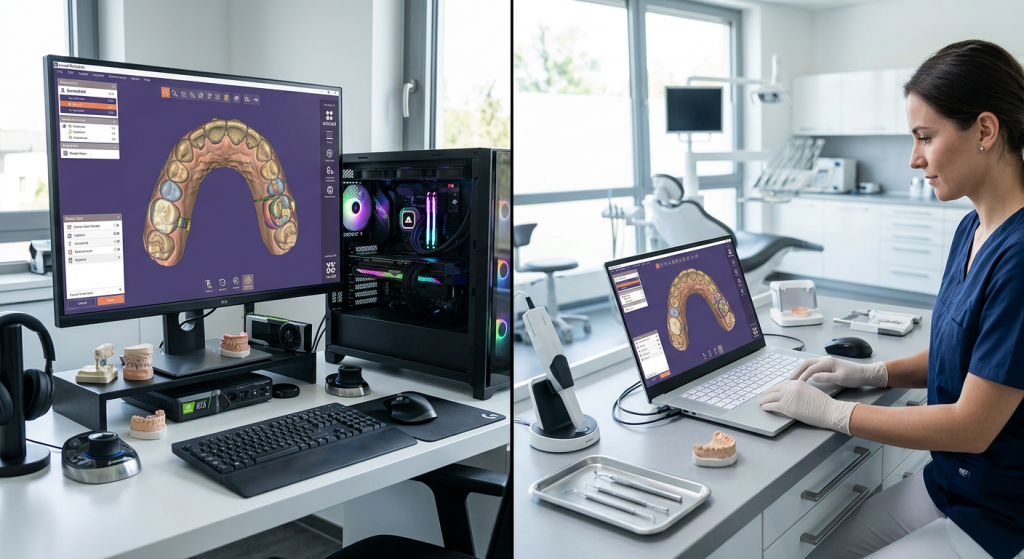
Exocad keyboard shortcuts for free-forming
The Free-Forming mode is where your artistic and technical skills come together. It is the heart of dental anatomy design. Mastering the Exocad controls in this phase turns you into a true digital sculptor, allowing you to add, remove, smooth, and adapt the morphology with unparalleled speed and precision. Most of these commands are based on the numeric keys and the CTRL key (Source: Exocad Hotkeys and Commands Guide – Scribd).
Sculpting anatomy: add, remove, and smooth
These are your basic sculpting tools. Switching between them with the keyboard instead of the mouse allows you to work uninterruptedly on the tooth surface.
- 1 / 2: Toggles between the Add/Remove material tool and the Smooth tool.
- F1, F2, F3: They are usually assigned to different types or shapes of brushes, although this may vary slightly.
Tooth movement and positioning
When you work with library anatomies or need to make global adjustments, these shortcuts are your best allies:
- 3 / 4: Activates the tools to move cusps or parts of the tooth.
- 5 / 6: Activates the tools to move the entire tooth or the ridge.
Adaptation and precision controls
Free-forming has intelligent functions to protect certain anatomical areas while you make modifications. Controlling them with the keyboard is a sign of mastery:
- CTRL + T: Activa/desactiva la opción “Mantener Puntas de Cúspide” (Hold Cusp TTips). Prevents the cusp tips from being affected by the smoothing or adaptation tool.
- CTRL + Q: Activa/desactiva la opción “Mantener Ecuador” (Hold Eqquator). Protects the prosthetic equator line of the tooth.
- CTRL + M: Restricts the movement of the anatomy only on the occlusal plane (Occlusal MMovement only).
Cut intersections like a pro
La herramienta de “Cortar Intersecciones” es vital para ajustar los contactos. En lugar de seleccionarlo en el menú, puedes aplicar cortes específicos con estos comandos:
- CTRL + A: Cuts intersections only with the Aantagonist.
- CTRL + N: Cuts intersections only with the adjacent teeth (NNeighboring/Adjacents).
- CTRL + G: Cuts intersections only with the gingiva (Ggingiva).
- CTRL + X: Executes a complete cut against all (Antagonist, gingiva and adjacents).
Cheat sheet: all Exocad keyboard shortcuts at a glance
We know this is a lot of information to take in at once. That's why we have compiled all the Exocad keyboard shortcuts mentioned in this guide into a "Cheat Sheet". We recommend you print it and keep it handy at your workstation. With time and practice, these commands will become second nature.
Navigation and general visualization
- Right Mouse Button: Rotate view
- Left+Right Mouse Buttons: Pan view
- Mouse Wheel: Zoom
- Click Mouse Wheel / Home Key: Center view
- Arrow Keys: Pan view
- F11: Full screen mode
- Alt (hold): Temporarily show all objects
- CTRL + Middle Mouse Button: Hide object under the pointer
- CTRL + SHIFT + Middle Mouse Button: Show last hidden object
- SHIFT + Click Mouse Wheel: Toggle object transparency
Show and hide groups
- A: Antagonist
- S: Scans (Scans)
- G: Gum (Gingiva)
- W: Wax-up (Waxup)
- P: Pre-operative
- F: Full Contour (Full)
- R: Reduced
- B: Bottoms (Bottoms)
- C: Connectors
Assistant and main tools
- CTRL + Space: Next step
- CTRL + Left Arrow: Previous step
- CTRL + R: Measurement Tool
- CTRL + P: Cutting Plane
- CTRL + D: Distances Tool
- CTRL + Z: Undo
- CTRL + Y: Redo
- CTRL + S: Save
Free design (free-forming)
- 1 / 2: Add/Remove / Smooth
- 3 / 4: Move Cusps / Parts
- 5 / 6: Move Entire Tooth
- CTRL + T: Maintain Cusp Tips
- CTRL + Q: Maintain Equator
- CTRL + M: Occlusal Movement Only
- CTRL + A: Cut vs. Antagonist
- CTRL + N: Cut vs. Adjacents
- CTRL + G: Cut vs. Gingiva
- CTRL + X: Cut vs. All
Frequently asked questions about Exocad keyboard shortcuts
It's natural to have questions when adopting a new way of working. Here we answer some of the most common questions about Exocad's controls and shortcuts.
Can keyboard shortcuts be customized in Exocad?
This is a very common question. Based on the official documentation available from the provided sources, such as the Exocad Wiki, there is no native feature or simple settings menu that allows the end-user to customize or reassign keyboard shortcuts.
The hotkeys are predefined by the software to ensure a standardized and consistent user experience across all installations. This ensures that a designer can work on any system with Exocad without needing to relearn the controls.
Do these keyboard shortcuts work in all Exocad versions?
The vast majority of fundamental shortcuts, especially those related to 3D navigation and basic tools, have been consistent across many versions of Exocad. However, with each new version (e.g., Galway, Plovdiv, Rijeka), Exocad may introduce new features and, therefore, new shortcuts, or slightly modify existing ones.
The official Exocad Wiki is an excellent resource, as it often specifies the software version to which the documentation applies and provides links to information for previous versions. As a general rule, the commands in this guide are widely applicable, but it's always a good idea to consult the documentation for your specific version if you find any inconsistencies.
What is the most important shortcut for a beginner?
If we had to choose just one, absolute mastery of mouse navigation (rotate, move, zoom, and center) is the most critical and fundamental skill. Without this, everything else is impossible. Immediately after that, the most impactful group of shortcuts for a beginner is the one for Show/Hide groups (especially the ‘A’ key for the antagonist and ‘S’ for scans). Being able to clear the view to focus on the preparation margin or the occlusal anatomy without distractions is a game-changer that speeds up the workflow and reduces frustration from day one.
Mastering Exocad's keyboard controls and shortcuts is a journey, not a destination. Start by integrating two or three new commands into your workflow each week. Focus first on navigation and viewing, and then move on to the free-form design tools. You will soon discover that you not only work faster, but you also think and design in a more fluid, intuitive, and creative way.
At Prodecad, we are committed to driving digital dentistry through training and technology. We believe that a well-equipped designer is key to creating exceptional aesthetic and functional restorations. We hope this guide serves as a valuable resource on your path to Exocad mastery. And if, upon releasing the mouse, you discover that the equipment is slow, review our exocad computer guide; if what you want is to speed up modeling, start with our 3D dental anatomy libraries.